I had the pleasure of installing video cameras over the last couple of weekends. Overall it was challenging work but a welcomed break from sitting in front of a computer screen. Most of the job wasn't too difficult and wasn't too time consuming.
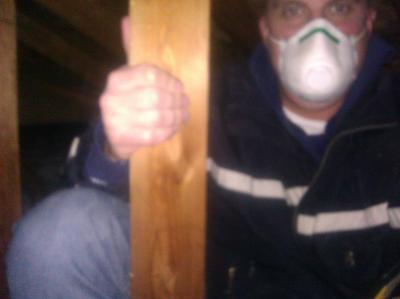
A WARNING: Working in an attic can be very dangerous. Only walk on the trusses or joists or you will fall through the ceiling. Don't wear loose clothing or anything you really care about. Wear gloves and a nice mask. There are usually nails sticking out from the roof so be careful to avoid taking one to the head (like I did) or the eyes or something worse.
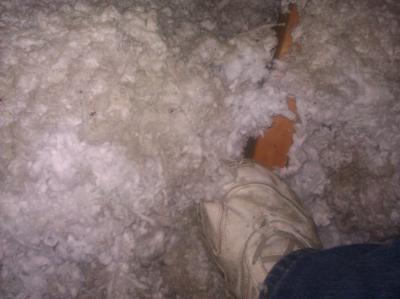
The trusses and joists are usually hidden under insulation so be careful an sure of what you are stepping on.
Planning
The first step in installing the system is to plan. Where do you want to put the DVR? Against an inside wall is easiest as you won't have to fight insulation. How are you going to monitor them? My DVR only supports either a computer monitor or a TV.
Where are you going to put the cameras? This is a bit more difficult than it seems as you won't know exactly how it's going to look during the day and night until the cameras are up. Try not to place them too close to the eave of the house as many cameras are wide angle and the eave will cover a great deal of the picture. The night vision looks like a big flashlight pointed directly in the center of the picture so keep that in mind.
You will also want to verify you have enough cable. My house is a bit over 1500 square feet and the 60 foot cables included more than covered the required distance. Finally, consider how you are going to mount the cameras and the angle the camera is capable of being set at.
Now that you have a plan, hook up the DVR where it will be placed at and hook up each camera to verify they work.
Installing the cameras
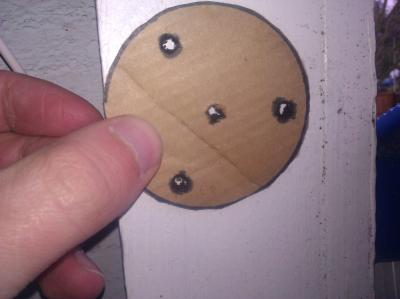
Mounting the cameras was fairly easy. I created a cardboard template from the mounting bracket on the camera and used it to place, fit, and drill pilot holes. I then just mounted the camera using the included screws.
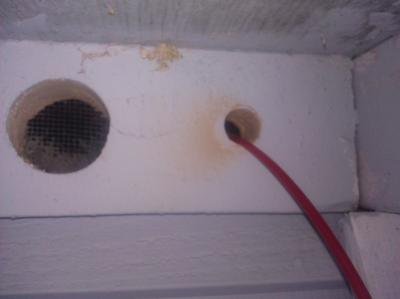
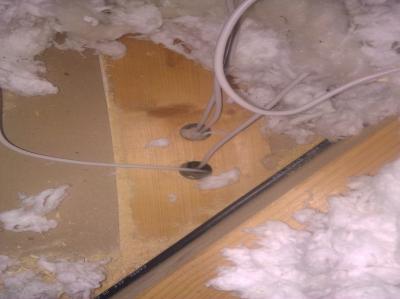
The next step is to drill a hole into the attic where the camera will be placed. The cameras I have can be mounted on top of the hole or near it. Do not thread the cable into the hole. It is much too difficult to connect the wire inside the attic when it's so close to the bird block. What you'll want to do instead is fish your "fish tape" through the hole into the attic, attach the wire from inside the attic to the fish tape, then pull it out. The cable that connects the DVR to the camera is much, much longer and easier to work with.
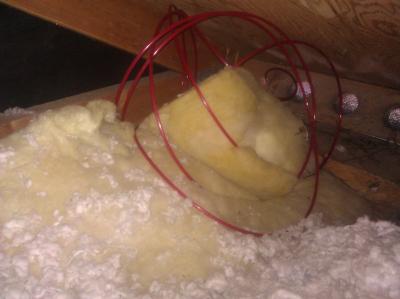
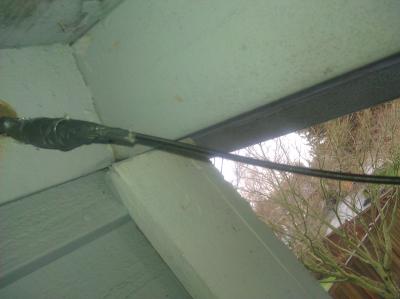
This is the fish tape threaded through the hole from the inside of the attic. I just used the cheapest fish tape they have at Harbor Freight and that worked great. Thread plenty..the more the better as it will be easier to get at in the attic.
You then navigate through the attic with the long cable (that connects the camera to the DVR) and some duct tape. Find the fish tape and secure the end of the cable to it. Depending on the size of the hole you drilled you may need to tape the cable and the fish tape end to end.
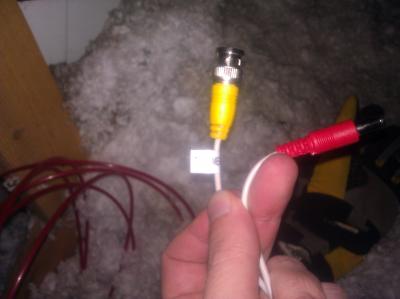
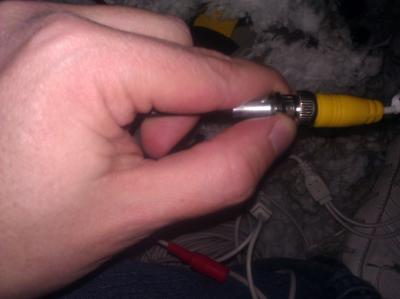
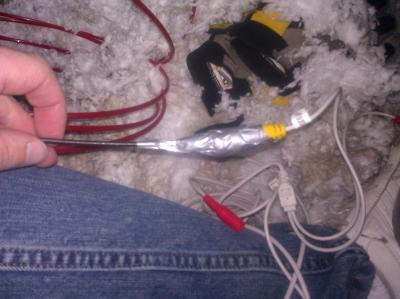
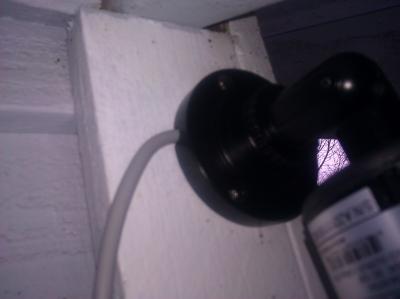
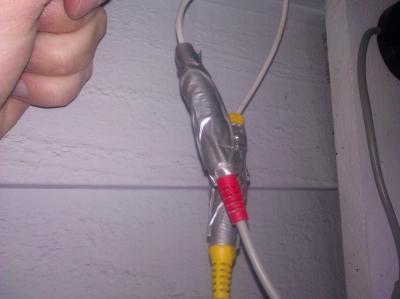
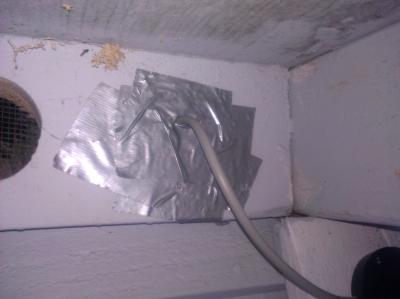
Once you have the cable attached, go back outside and pull the attached fish tape with the cable out of the hole. Remove the fish tape and duct tape, and connect the camera to the cable. Then, thread the connected cable back through the hole. I secured the connection with duct tape and also patched the hole with duct tape. I'm sure there is a more professional way to finish this.
Next, inside the attic, you want to drop the other end of the cable into the wall where the DVR will be. This requires two steps; Finding the wall in the attic and putting a hole into the "wall cap," and sawing a hole in the wall where the outlet will go. All of your wires will come out of this hole and go to the DVR.
I actually confirmed with my wife the position by putting a tiny drill bit through the ceiling in front of the wall cap. Interior walls are generally hollow (no insulation) so it's easy enough to put a hole into it and drop the wires. Be very careful to avoid any wiring in the wall.
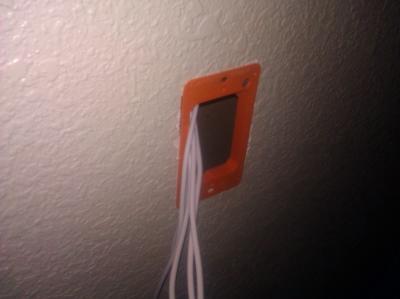
I bought the outlet which included a cover plate from Home Depot. It was very easy to put in. I barely missed hitting a light switch on the other side of the wall when I installed this. You want to always think about what may be on the other side of the wall when you are drilling and sawing.
I installed six cameras in a couple of afternoons using this method and each install was easier than the last. It was a fun and worthwhile project, but be very careful when doing any kind of attic work.
Comments
Caameras
What make / model did you use?
re: Caameras
I purchased the Q-See QS408-411-5 and an extra camera. We are probably going to replace the cameras though as the night quality isn't that great.
Another way to patch the hole
Another way to patch the hole (you used duct tape) would be to fill it with foam. http://www.homedepot.com/webapp/wcs/stores/servlet/ProductDisplay?langId=-1&storeId=10051&catalogId=10053&R=100003351&catEntryId=100003351#.URlLnVlQCKk
Thanks, really informative!
Thanks, really informative!